Saturday, October 29, 2011

Pumpkin mat

In honor of Halloween weekend, here is a fun pumpkin project.


Supplies:

  • 1/2 yard Orange fleece fabric
  • 1/2 yard fabric interfacing - iron on (fusible)
  • Pumpkin outline
  • White or orange thread


Instructions:
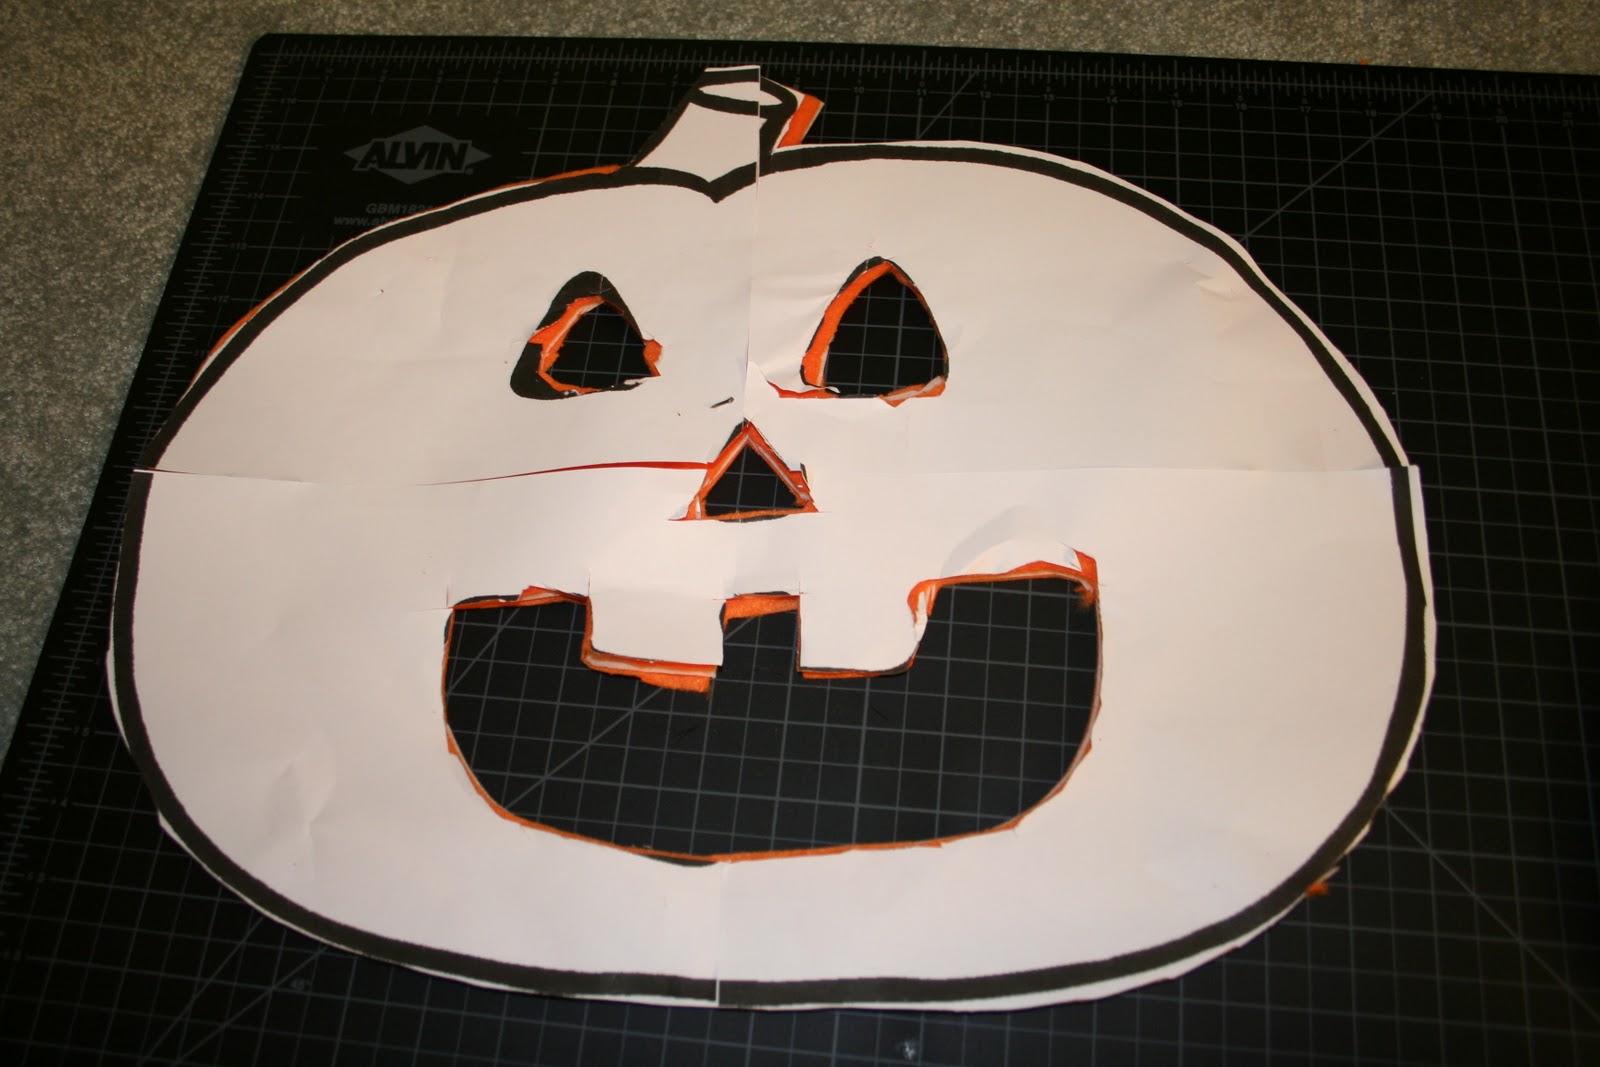
Print out or draw a pumpkin outline.  I used Adobe Illustrator to make a 4 page large pumpkin that I taped together.  Lay out the orange fleece fabric.  Place a piece of interfacing on top, and fold or place another piece of orange fleece fabric on top of it.


Add the pumpkin pattern and pin all the layers together.  You'll want to pin outside the pumpkin and inside the pumpkin so it is still pinned once you cut the outside off.


Cut to the pattern.


Take the bottom layer and the interfacing, and iron the interfacing on.  The shiny side of the interfacing should be against the fabric.


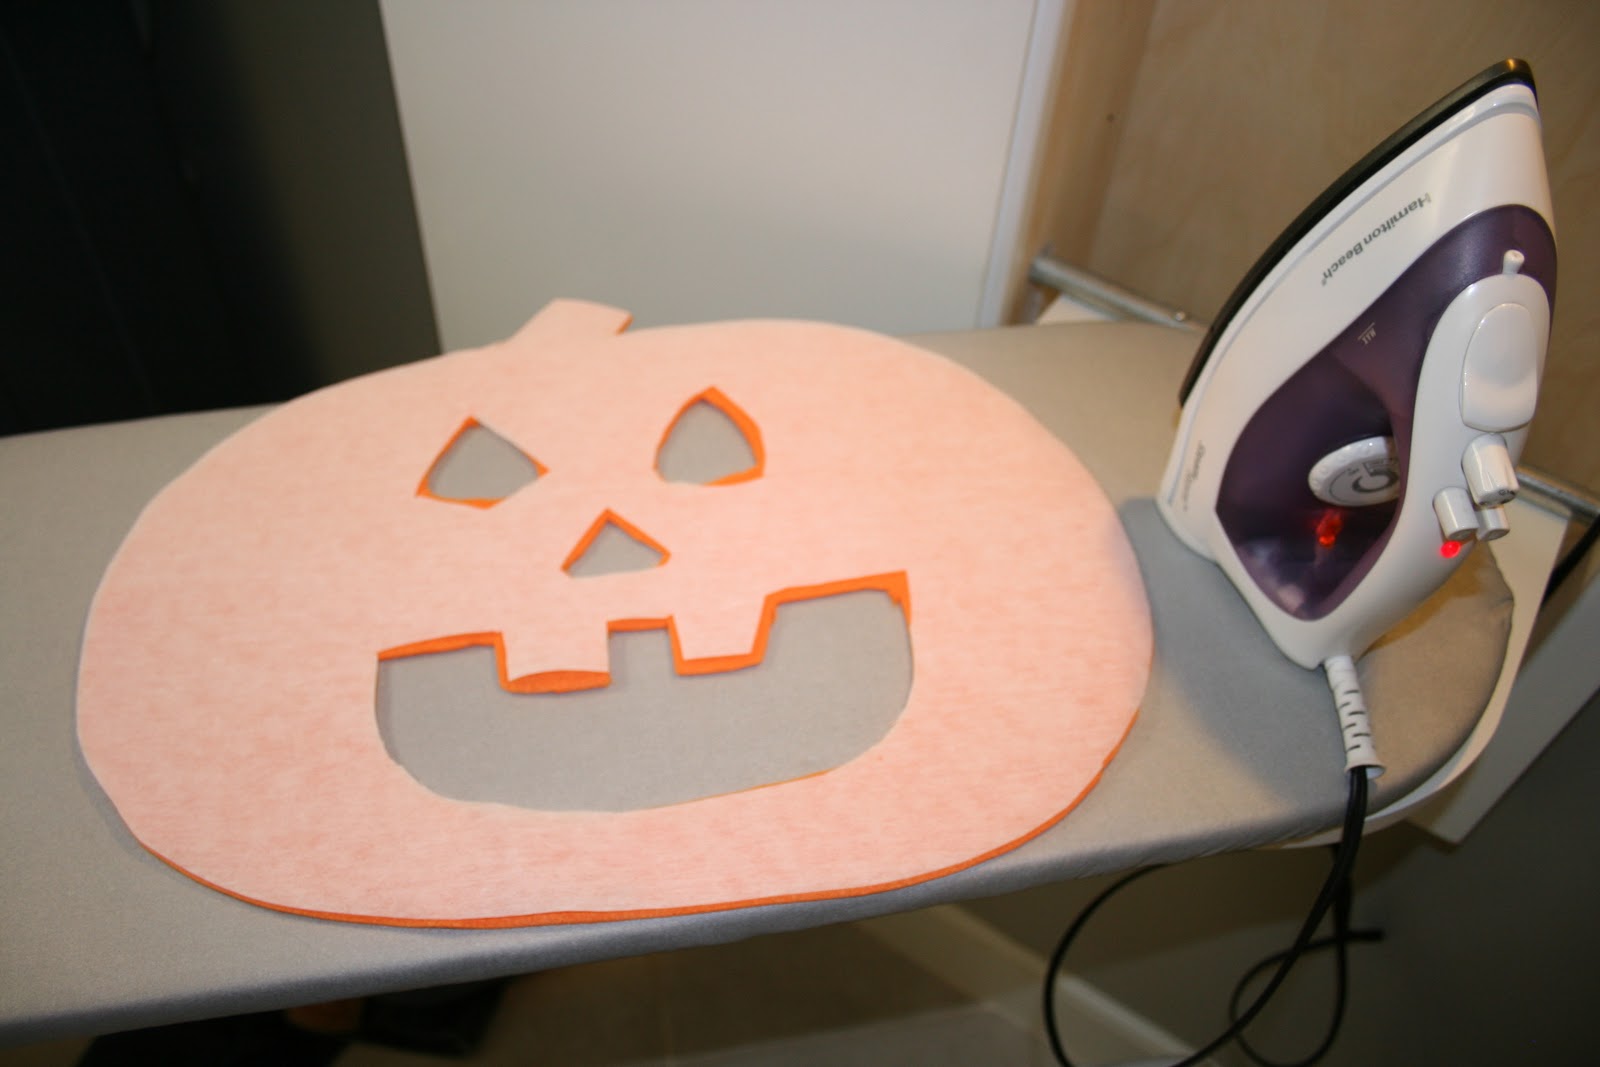
Place the other piece of fleece back on top of the interfacing, and zizag stitch or serge the edges.


And that's it, you're done!  Now you have a cute pumpkin mat that could be used on a table, as a hanging, or any other way you could think of!

Monday, October 24, 2011

Apron

I'm finally getting to posting the finished apron.  I had a lot of fun making it, and I am very happy with how it turned out.  I kept not getting pictures of it during the daytime due to the lovely fall countdown of daylight when I am home.  I finally gave up and just got some indoor pictures, so hopefully you can forgive the picture quality!


Yay!  So pleased to have it finished and working.   Let me know what you think!

Thursday, October 6, 2011

Function & Style

Well, with the passing on of Steve Jobs, I think it's time for a quick reflection on the blog name.  Function and Style comes from the fact that much of my life is dedicated to thinking and and innovating on how to create functional products that have an element of style and delight to them.  As a user experience practitioner, this is a daily goal that I hold myself to.  Upon starting this blog, I realized that many of the things that I planned on blogging about also had this common theme - I want to make things with my hands that are stylish and bring me happiness, but I also love things that are functional and usable in my daily life.


Steve Jobs is the icon of this combination in our world today.  With the last decade or more of Apple products, he has continued to push his company and himself to achieve solutions that are functional and stylish.  Most technology companies focused in on function, and keep adding functionality to beat each other.  Apple and Jobs step back, find the functionality that matters, and then add style and delight in a way that draws people to their products.  Minimizing a product to find the greatest areas of impact, and then pushing the envelope on those areas, is not an easy feat.  I can only hope that in my career and personal projects I can achieve this balance.


RIP Steve.  Thanks for the inspiration and challenge you have presented to me and others around the world.

Sunday, October 2, 2011

Welcome and first sewing project

Hi all!  I've decided to start a blog to capture the facets of my life. Thank you for coming to read and I hope you enjoy or get some enjoyment out of my nonsense!

I recently bought a sewing machine and have been enjoying fixing up the pile of ripped clothes, but wanted to try creating something new!  I saw this apron from Anthropologie online - and wanted to replicate it.


After looking around I found a pattern from Butterick which was similar enough to meet what I loved about the Anthropologie apron with the cut in sides and flounced skirt.

Since this is my first pattern project, I wanted to share a two of the lessons I have learned so far in the process of making this.  I'll share the final product as I complete it!
  • When working with a pattern, first cut out the pattern pieces wider than the pattern edge.  This means that when you lay out the pattern on your fabric, you can then have some edge to work with to make a second cut on the pattern edge through the fabric.

Leave edges for cutting fabric as shown to right.
  • "Narrow hem" means a doubled over fabric with a stitch fairly close to the edge.  Thanks to many internet searches, I found that the easiest way to do this was to do two iron-overs with a stitch along the edge each time.  The best tutorial I found was by Mary at CraftStylish.  Thanks Mary!  My steps are below.
Mark fabric at a little more than 3/8"

Fold and iron so edge hits marks (approximately, this is a very small fold!)

Sew close to edge. Cut along sew line as close as you can make a consistent line

Fold over sew line and iron again (this should get you close to 5/8").  Then sew close to edge, and you're done!  (The top sew line was the first one, but only the bottom sew line shows on the front.)


I'm excited about the final product, and will share soon!